Customizing an experiment
Lorem ipsum dolor sit amet, consectetur adipiscing elit, sed do eiusmod tempor incididunt ut labore et dolore magna aliqua.
Selecting an image with a mouse click
The participant selects an image by pressing the F or J key. We’ll include the option of clicking on an image to select it by using a Selector.
A Selector creates a group of elements, where (by default) each member can be selected with a mouse click. We can then associate a key to each member, so that a keypress will also select the desired element.
- Remove the
"keypress"Key. - Create a Selector named
"selection".- Call the
addcommand to add the"singular"and"plural"Imageelements - Call the
keyscommand to associate theFandJkeys to the singular image and plural image, respectively. - Call the
logcommand to log information about the participant’s selection. - Call the
oncecommand so that only the first image selection is valid (without theoncecommand, the participant can change the selected image, up until the trial ends). - Call the
waitcommand to pause experiment script execution until the participant selects an element.
- Call the
If you are copy and pasting this code, delete any lines highlighted with a red background.
@// code omitted in interest of space
@
@// Experimental trial
*Template("items.csv", row =>
@    newTrial("experimental-trial",
@        newAudio("audio", row.audio)
@            .play()
@        ,
@        newText("sentence", row.sentence)
@            .center()
@            .unfold(row.duration)
@        ,
@        newImage("singular", row.singular_image)
@            .size(200, 200)
@        ,
@        newImage("plural", row.plural_image)
@            .size(200, 200)
@        ,
@        newCanvas("side-by-side", 450,200)
@            .add(  0, 0, getImage("plural"))
@            .add(250, 0, getImage("singular"))
@            .center()
@            .print()
@        ,
-        newKey("keypress", "FJ")
-            .log()
-            .wait()
+        newSelector("selection")
+            .add(getImage("plural"), getImage("singular"))
+            .keys("F", "J")
+            .log()
+            .once()
+            .wait()
@        ,
@        getAudio("audio")
@            .wait("first")
@    )
@    .log("group", row.group)
@    .log("item", row.item)
@    .log("condition", row.inflection)
@)
Creating a timeout
The "experimental-trial" trial ends after audio playback finishes or a valid keypress, whichever comes second.
We’ll modify the trial so that it ends after whichever comes first:
- If the participant presses a valid key while audio playback is still ongoing, the trial ends after the keypress.
- If audio playback finishes before the participant presses a valid key, the trial ends after audio playback finishes.
In other words, the participant has until the audio playback finishes to press a valid key, otherwise the trial times out and ends.
- Create a timeout:
- Create and start a
Timernamed"timeout"that isrow.durationms long. - Call the
callbackcommand on the"selection"Selector. When an image is selected, thecallbackcommand will stop the"timeout"Timer. Remove theonceandwaitcommands. - Call the
waitcommand on the"timeout"Timerto pause experiment script execution until the timer stops. - Call the
stopcommand on the"audio"Audioto stop audio playback when the timer stops. Remove thewait("first")command.
- Create and start a
If you are copy and pasting this code, delete any lines highlighted with a red background.
@// code omitted in interest of space
@
@// Experimental trial
*Template("items.csv", row =>
@    newTrial("experimental-trial",
@        newAudio("audio", row.audio)
@            .play()
+        ,
+        newTimer("timeout", row.duration)
+            .start()
@        ,
@        newText("sentence", row.sentence)
@            .center()
@            .unfold(row.duration)
@        ,
@        newImage("plural", row.plural_image)
@            .size(200, 200)
@        ,
@        newImage("singular", row.singular_image)
@            .size(200, 200)
@        ,
@        newCanvas("side-by-side", 450,200)
@            .add(  0, 0, getImage("plural"))
@            .add(250, 0, getImage("singular"))
@            .center()
@            .print()
@        ,
@        newSelector("selection")
@            .add(getImage("plural"), getImage("singular"))
@            .keys("F", "J")
@            .log()
-            .once()
-            .wait()
+            .callback(getTimer("timeout").stop())
+        ,
+        getTimer("timeout")
+            .wait()
@        ,
@        getAudio("audio")
-            .wait("first)
+            .stop()
@    )
@    .log("group", row.group)
@    .log("item", row.item)
@    .log("condition", row.inflection)
@)
The timeout is created as follows:
- The
"timeout"Timerstarts right after the"audio"Audiostarts playing. The"timeout"Timerand the"audio"Audioare bothrow.durationms long. - Experiment script execution continues until it reaches the
waitcommand on the"timeout"Timerelement. Thewaitcommand pauses experiment script execution until PennController detects an end-of-timer event. - If the participant selects an image before audio playback finishes:
- The participant selects an image. The
callbackcommand on the"selection"Seleector triggers the execution ofgetTimer("timeout").stop(), which stops the"timeout"Timerelement and validates thewaitcommand.
OR
If audio playback finishes before the participant selects an image:
- The
"timeout"Timerelement stops naturally and validates thewaitcommand.
- The participant selects an image. The
- Experiment script execution continues. The
stopcommand is called on the"audio"Audioelement. There are no more commands, so the trial “times out” and ends.
Adding a trial delay
Each trial begins as soon as the previous trial ends. This might be overwhelming for participants, so we’ll create a one-second pause between trials.
Create and start a Timer named "break" that is 1000ms long. Call the wait command to pause experiment script execution until the timer stops:
@// code omitted in interest of space
@
@// Experimental trial
*Template("items.csv", row =>
@    newTrial("experimental-trial",
+        newTimer("break", 1000)
+            .start()
+            .wait()
@        ,
@        newAudio("audio", row.audio)
@            .play()
@        ,
@        newTimer("timeout", row.duration)
@            .start()
@        ,
@        newText("sentence", row.sentence)
@            .center()
@            .unfold(row.duration)
@        ,
@        newImage("plural", row.plural_image)
@            .size(200, 200)
@        ,
@        newImage("singular", row.singular_image)
@            .size(200, 200)
@        ,
@        newCanvas("side-by-side", 450,200)
@            .add(  0, 0, getImage("plural"))
@            .add(250, 0, getImage("singular"))
@            .center()
@            .print()
@            .log()
@        ,
@        newSelector("selection")
@            .add(getImage("plural"), getImage("singular"))
@            .keys("F", "J")
@            .log()
@            .callback(getTimer("timeout").stop())
@        ,
@        getTimer("timeout")
@            .wait()
@        ,
@        getAudio("audio")
@            .stop()
@    )
@    .log("group", row.group)
@    .log("item", row.item)
@    .log("condition", row.inflection)
@)
Using CSS styles
The css and cssContainer commands are equivalent to using inline CSS to apply a style or styles. The css command applies the CSS style(s) to the specified element, and the cssContainer command applies the CSS style(s) to the container of the specified element.
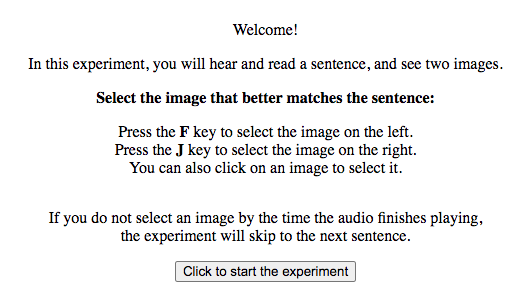
- Update the instructions to reflect the changes in the
"experimental-trial"trial. - Call the
cssContainercommand on thedefaultTextobject to add a 1em bottom margin to everyTextelement container. - Remove the
<p></p>tags.
@// code omitted in interest of space
@
@// Instructions
@newTrial("instructions",
@    defaultText
+        .cssContainer({"margin-bottom":"1em"})
@        .center()
@        .print()
@    ,
@    newText("instructions-1", "Welcome!")
@    ,
!    newText("instructions-2", "In this experiment, you will hear and read a sentence, and see two images.")
@    ,
@    newText("instructions-3", "<b>Select the image that better matches the sentence:</b>")
@    ,
!    newText("instructions-4", "Press the <b>F</b> key to select the image on the left.<br>Press the <b>J</b> key to select the image on the right.<br>You can also click on an image to select it.")
+    ,
+    newText("instructions-5", "If you do not select an image by the time the audio finishes playing,<br>the experiment will skip to the next sentence.")
@    ,
@    newButton("wait", "Click to start the experiment")
@        .center()
@        .print()
@        .wait()
@)
@
@// code omitted in interest of space
We’re calling the cssContainer command instead of using the <p></p> HTML tags in order to better control the vertical line spacing.
Click for more details
It’s possible to use <p></p> tags instead of calling the cssContainer command:
* // code omitted in interest of space
@
@// Instructions
@newTrial("instructions",
@    defaultText
@        .center()
@        .print()
@    ,
@    newText("instructions-1", "Welcome!")
@    ,
@    newText("instructions-2", "<p>In this experiment, you will hear and read a sentence, and see two images.</p>")
@    ,
@    newText("instructions-3", "<b>Select the image that better matches the sentence:</b>")
@    ,
!    newText("instructions-4", "<p>Press the <b>F</b> key to select the image on the left.<br>Press the <b>J</b> key to select the image on the right.<br>You can also click on an image to select it.</p>")
+    ,
+    newText("instructions-5", "<p>If you do not select an image by the time the audio finishes playing,<br>the experiment will skip to the next sentence.</p>")
@    ,
@    newButton("wait", "Click to start the experiment")
@        .center()
@        .print()
@        .wait()
@)
@
@// code omitted in interest of space
However, if you add <p></p> HTML tags to the "instructions-5" Text, then there will be two lines of space in between the "instructions-4" and "instructions-5" Text elements, because the "instructions-4" Text also has <p></p> tags.
If you don’t add the <p></p> tags, then there won’t be a line of space between the "instructions-5" Text and "wait" Button:
 with
with <p></p> tags on "instructions-5" 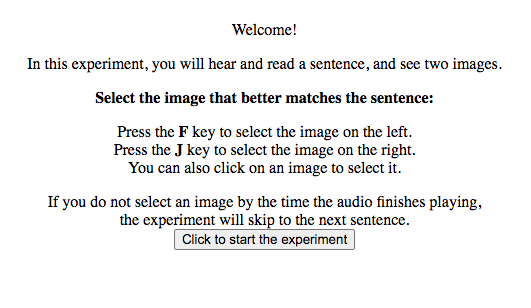 without
 <p></p> tags on "instructions-5" With the cssContainer command: 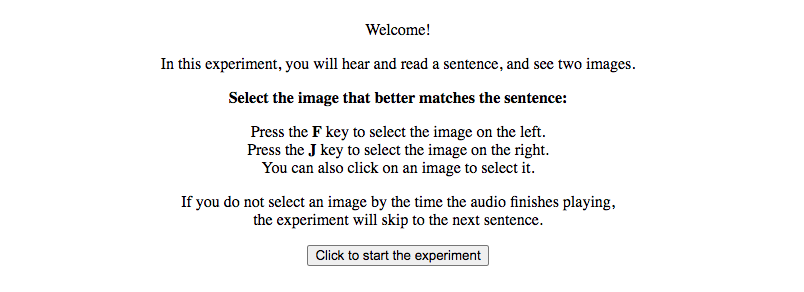
Adding a completion screen
We’ll add a completion screen trial to the end of the experiment.
By default, PennController sends the experiment results to the PCIbex Farm server after all the trials have ended. Use the global command SendResults to manually control when PennController sends results, and send results before the completion screen trial begins. This will help ensure that participants don’t close their web browser before the experiment results are sent and saved.
We’ll create a Button and call the wait command on it to pause experiment script execution, so that participants have time to read the completion screen trial.
However, there is no need for participants to go beyond this trial; the experiment is already over, and the results have already been sent. Pause experiment script execution indefinitely by calling the wait command on the Button without printing it. The participant will never be able to click the button, and the wait command will never be satisfied.
- Call the
SendResultsglobal command and label it"send". - Create a new trial labeled
"completion_screen".- Create and print a centered
Textnamed"thanks". - Create a new
Buttonnamed"void". Call thewaitcommand on it, but do not print it to the screen.
- Create and print a centered
@// code omitted in interest of space
@
@// Experimental trial
*Template("items.csv", row =>
@    // code omitted in interest of space
@)
@
+// Send results manually
+SendResults("send")
@
+// Completion screen
+newTrial("completion_screen",
+    newText("thanks", "Thank you for participating! You may now exit the window.")
+        .center()
+        .print()
+    ,
+    newButton("void", "")
+        .wait()
+)